The mikado method
The Mikado method takes its name from the Mikado game, where the goal is to remove one stick without disturbing the others. The Mikado method has the same philosophy. It aims to make small incremental improvements to a project without breaking the existing codebase.
Ola Ellnestam and Daniel Brolund developed the Mikado Method based on their experience in resolving technical debt in complex legacy systems. They published a book called The Mikado Method
This method simplifies refactoring. You can continuously improve your codebase instead of stacking a lot of changes which can’t be merged because the test suites are broken. It’s better to regularly merge small changes that improve your codebase quality. This method is ideal for brownfield development. It enables you to add new features or alter existing ones without breaking the rest of the application. Moreover, it facilitates the improvement of the application’s architecture while allowing the delivery of new features concurrently.
For more information, have a look at my blog post on the Mikado Method
Try the MikadoApp
Try the Mikado App online. For now, I am only using the Vercel free plan, meaning the application may be slow.
This project is open source, so don’t hesitate to contribute to the application to improve it! Submit an issue for bugs and share your ideas to enhance the application. Pull requests are very welcome too. The source code is available on GitHub.
How to use the MikadoApp
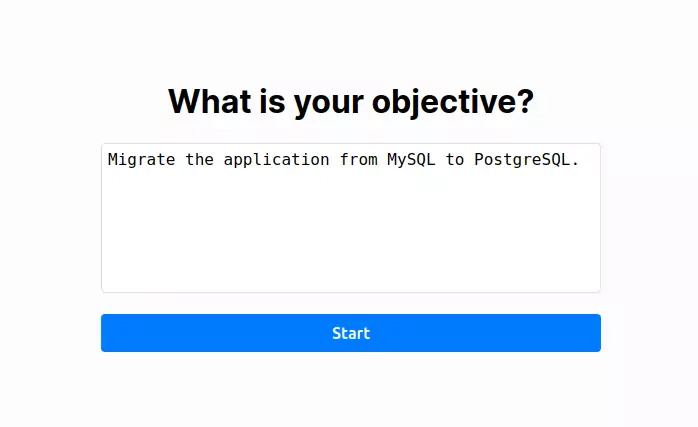
Let’s take an example: MySQL doesn’t match the project’s needs; you want to migrate your application to PostgreSQL. On the homepage of the Mikado App, enter your objective. Explain what you want to do and click on the « Start » button to begin working.
Then you arrive on the mikado graph page. You can split your objective into small steps called prerequisites. To achieve the database migration, we first need to install the database and update the repositories due to the usage of SQL queries specific to MySQL.
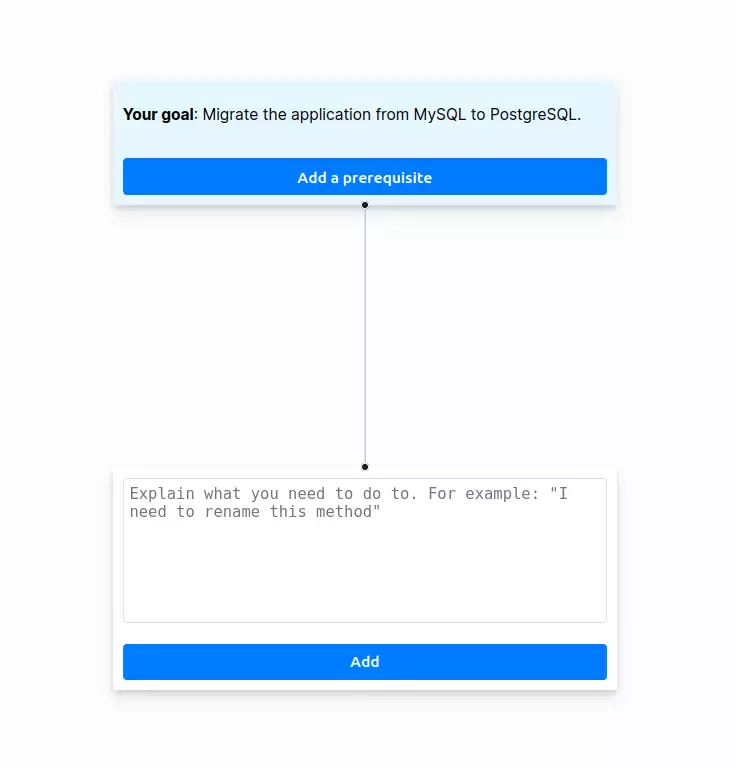
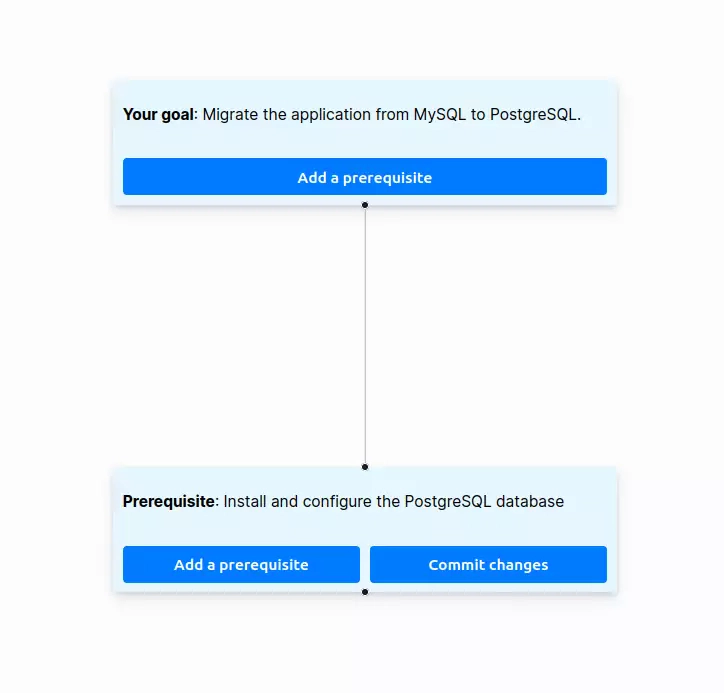
Click on the « Add a prerequisite » button to open the prerequisite addition form. Then, describe the actions required to complete the prerequisite. Finally, click on the « Add » button to add the prerequisite to the Mikado Graph:
You can create as many prerequisites as you want. Don’t forget that small steps are easier to take! As you can see in the following screenshot, the prerequisite bubble has an orange background, indicating indicating the prerequisites have the status ‘To do’:
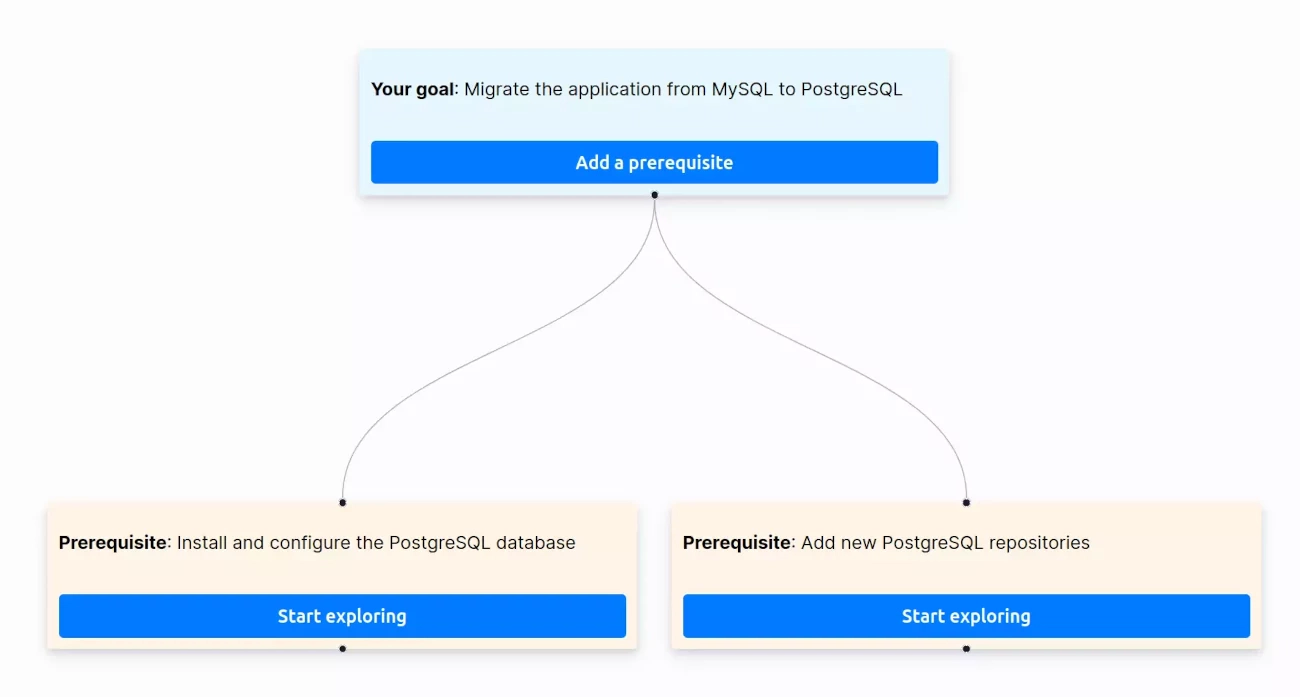
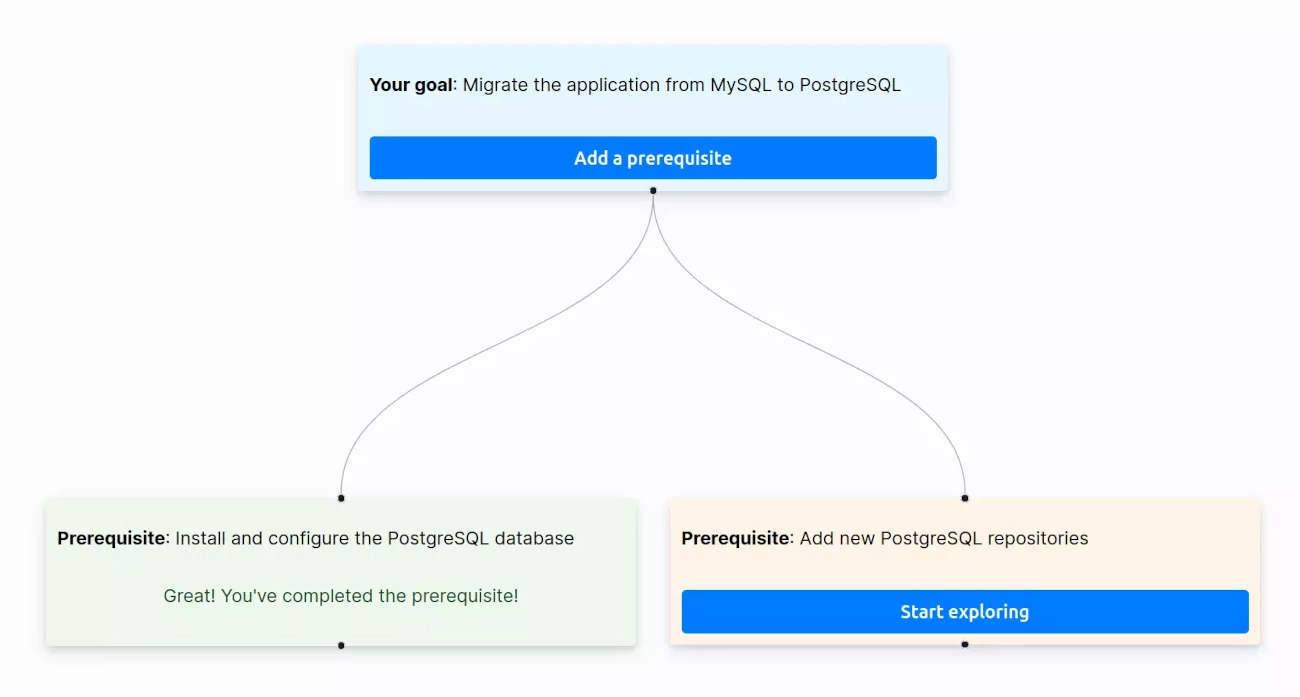
After adding prerequisites, select one from the list and click on the « Start exploring » button to start experimenting with things to solve it. The background color of the prerequisite changes to blue, indicating that the prerequisite status is now « Experimenting » meaning you are actively working on it.
Now, you have two choices: the first one is to click on the « Add a prerequisite » button to split the prerequisite into smaller steps.
The second option is to click on « Commit your changes » when you finish it and proceed to the next one on the list.
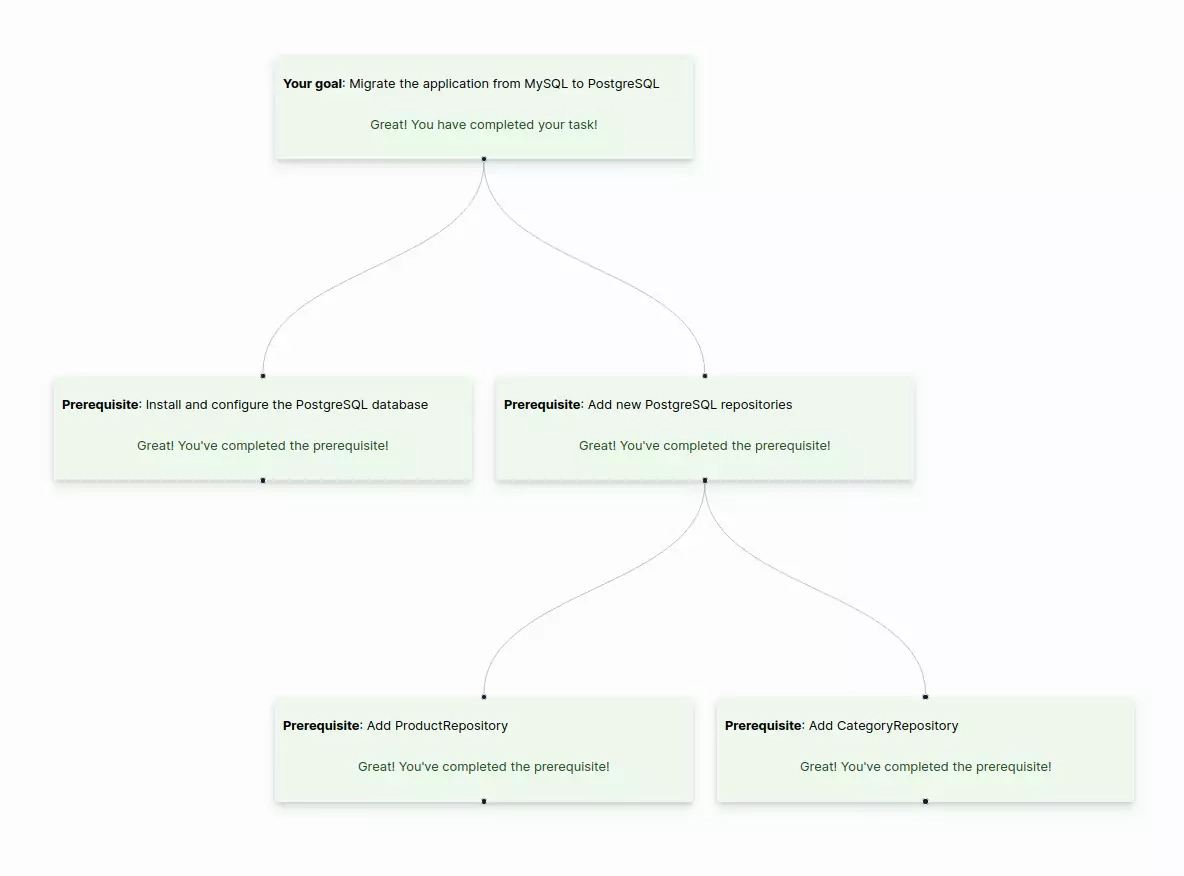
Continue resolving all prerequisites until the end. When all prerequisites are done, your objective is completed!